|
微波射频仿真设计 |
|
|
微波射频仿真设计 |
|
| 首页 >> Ansoft Designer >> Ansoft Designer在线帮助文档 |
|
Schematic Editor > Printing a Schematic
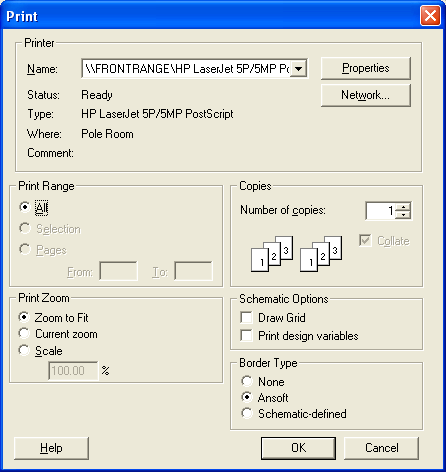
To print the schematic that is in the active window: 1. Right-click in the schematic window and select Print from the menu (or select Print from the File menu) to open the Print dialog box:
2. Use the controls to specify how you wish the print to appear. • In the Schematic Options panel, you can specify whether or not to draw the grid and print the design variables. • In the Border type panel,
you can select the type of border to print around the schematic. • Make any desired selections in the Print Range, Copies, and Print Zoom panels. 3. Click OK to print the schematic, or click Cancel to cancel the operation.
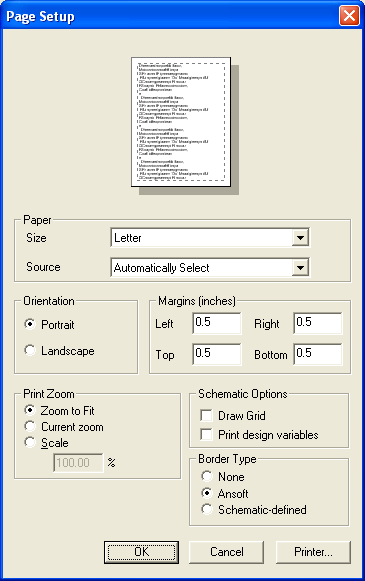
To set up the page layout before printing: 1. Select Page Setup from the File pulldown on the Designer top menu bar. 2. The Page Setup dialog box opens.
• Use the Paper, Orientation, Margins, and Print Zoom controls to specify how you wish the print to appear. In the Schematic Options panel, you can specify whether or not to draw the grid and print the design variables. • In the Border type panel,
you can select the type of border to print around the schematic. 3. Click OK to close the Page Setup dialog box with your settings. 4. Select Print Preview from the File menu to see a preview of the print.
HFSS视频教程 ADS视频教程 CST视频教程 Ansoft Designer 中文教程 |
|
Copyright © 2006 - 2013 微波EDA网, All Rights Reserved 业务联系:mweda@163.com |
|